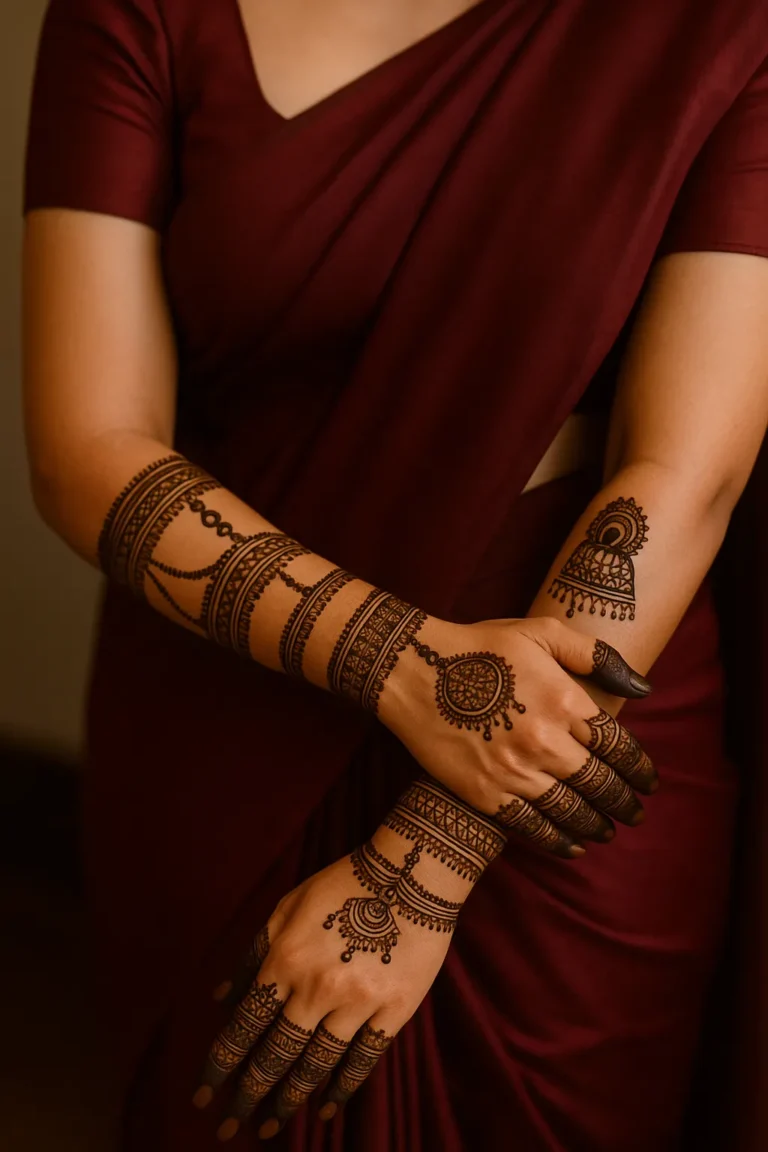
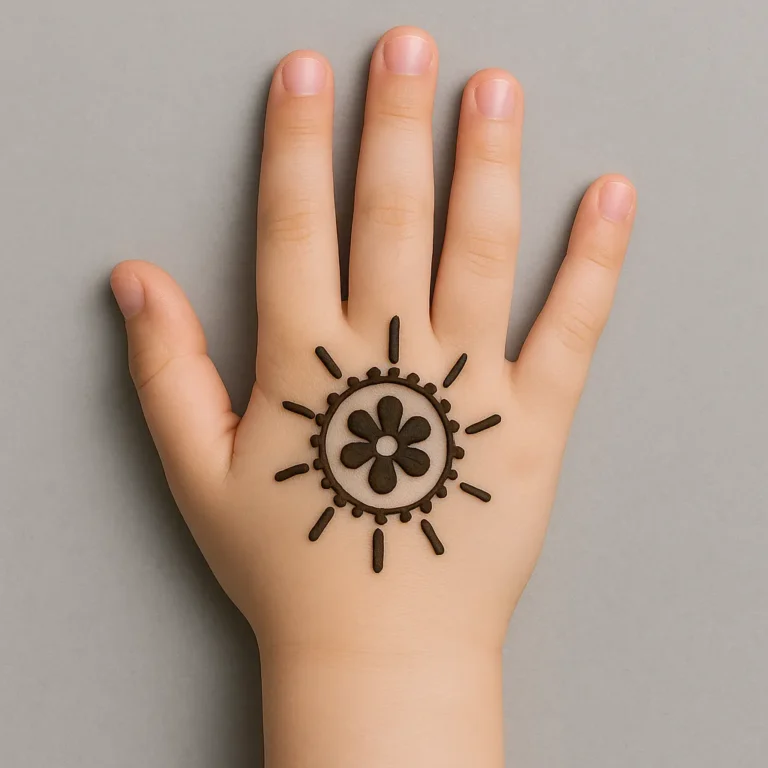
Why Oils Matter in DIY Mehndi Art
Introduction:
When it comes to DIY Mehndi Art, we often focus on design, cones, or technique. But one of the most underrated elements of a beautiful, deep stain is the use of oils—both before and after applying henna. These oils not only improve the richness of the stain but also protect your skin, enhance longevity, and prevent premature fading.
As a mehndi artist, I’ve worked with hundreds of clients and tested dozens of oils. This guide is for everyone—from beginners to professionals—who wants to elevate their mehndi staining results using the right oils at the right time.
🌸 Part 1: What Happens When You Don’t Use Oils?
Before diving into recommendations, let’s understand the difference oils can make:
- Without oil: The henna may dry too quickly, flake off, and stain poorly.
- Without aftercare oil: The stain gets exposed to water and air too soon, leading to pale or orange tones.
- With wrong oil: Some oils (like coconut or mustard) can block absorption or cause reactions.
If you’re serious about DIY Mehndi Art, then understanding oil timing is essential.
🛡️ Pre-Application Oils – What to Use Before Applying Mehndi
These are applied before the cone touches your skin, mainly to:
- Cleanse and prep the skin
- Improve absorption
- Create a smooth, hydrated base
1. Tea Tree Oil – The Antibacterial Hero
- Why it works: Tea tree oil has terpenes that activate dye release in henna.
- How to use: Mix 1-2 drops with a carrier oil like almond or olive. Apply thinly on clean skin.
- When to use: 15 minutes before applying mehndi.
- Real story: I had a bride with sensitive skin. Instead of alcohol-based cleansers, I used tea tree + almond blend—it gave a deep stain with no irritation.

2. Lavender Oil – Gentle & Calming
- Why it works: Safe for all skin types. Enhances stain and reduces inflammation.
- How to use: 3–5 drops mixed with aloe vera gel or jojoba oil.
- When to use: Apply 30 minutes before henna.
- Bonus: It calms the nerves—a perfect choice for first-timers nervous about their DIY Mehndi Art.
3. Eucalyptus Oil – A Traditional Favorite
- Why it works: High in cineole and terpenes, activates henna quickly.
- How to use: A single drop on the skin or add to your henna paste.
- Caution: Avoid in pregnancy or on broken skin.
4. Clove Oil – For Maximum Stain (Use Sparingly)
- Why it works: Powerful and hot, improves blood flow and stain depth.
- How to use: Mix 1 drop in 1 tablespoon carrier oil. Apply lightly.
- Warning: Too much may cause burns. Not suitable for children.
5. Witch Hazel (Oil-Free)
- Why it works: A pre-cleanser that tightens pores and removes sweat.
- Best for: Oily or acne-prone skin before mehndi.
- When to use: Just before applying, using a cotton pad.
Read More: Mehndi for Sensitive Skin: Tips, Natural Ingredients & Patch-Test Precautions (2025 Guide)
Healed Mehndi Designs: What They Look Like After 3, 5 & 7 Days (With Tips to Maintain Beauty)
🌞 During Application – Oils in the Henna Paste
Did you know that oils also play a role in the henna paste itself?
Essential Oils to Mix in Paste:
- Cajeput – Enhances dye release and gives a strong earthy aroma.
- Tea Tree – Combats bacteria and improves stain.
- Ravintsara – Rare, but gives excellent color with a smoother texture.
For DIY Mehndi Art at home, use 10–15 drops of essential oil per 100g of henna powder.
🌙 After Application – The Real Game-Changer
This is the phase where most beginners go wrong. Aftercare oils are applied after you scrape off the dried mehndi to lock in the color.
Why Post-Henna Oils Matter:
- They seal the skin to prevent water entry
- Deepen the color over 24–48 hours
- Prevent flaking and cracking of the fresh stain
💧 Best Oils to Use After Removing Henna
1. Balm or Sealant Oils (After Scraping)
Use these immediately after scraping off henna (not washing with water):
- Olive Oil – Moisturizes and protects stain
- Mustard Oil – Traditional choice in India, helps oxidize stain
- Sesame Oil – Light and warming
- Jojoba Oil – Non-comedogenic and long-lasting
💡 Pro Tip: Warm the oil slightly before applying with cotton.
2. Aftercare Mixes (DIY)
You can mix your own blend at home:
DIY Mehndi Sealant Blend
- 2 tbsp olive oil
- 1 tbsp sesame oil
- 1 tsp lavender oil
- A pinch of turmeric (optional)
Apply this mix twice daily for 2–3 days after scraping mehndi.
🌧️ Oils to Avoid in Mehndi Routine
Not every oil is good for DIY Mehndi Art. Some can ruin the stain:
- Coconut Oil – May act as a barrier and cause patchy stains
- Petroleum Jelly or Vaseline – Traps moisture, doesn’t let the stain mature
- Baby Oil – Fragrance ingredients can irritate fresh mehndi
💅 Mehndi Cone with Pre-Oil Infusion: Yes or No?
Some brands claim their cones contain essential oils. That’s good, but don’t skip pre and post-oils. Infused cones cannot replace proper skin prep and aftercare.

📆 Day-by-Day Oil Routine (Timeline for Best Results)
| Day | Action | Oil |
|---|---|---|
| Day 0 (Before Cone) | Cleanse & prep | Witch hazel or lavender |
| Day 0 (Post Cone) | 15 mins before | Tea tree or eucalyptus |
| Day 0 (After Scrape) | Seal stain | Olive/mustard/sesame oil |
| Day 1–3 | Twice daily | Aftercare oil blend |
👩🔬 Real-Life Case Studies
Case 1: Bridal Mehndi Stain Disaster Avoided
A bride once used coconut oil after scraping off her mehndi. The result? Patchy orange stain. We re-applied henna and followed the correct oiling process with clove + olive oil. Within 24 hours, her hands had a deep maroon stain.
Case 2: Sensitive Skin Savior
A teenager allergic to eucalyptus oil used a lavender + jojoba blend. It gave her a rich stain without itching or redness.
📸 Pro Tip: Oils for Mehndi Photoshoots
Apply a light sheen of almond oil before clicking photos of fresh mehndi. It gives a glowing finish and makes the stain pop under lights.
🧼 Bonus: Oils to Remove Mehndi Faster (If Needed)
Sometimes, you may want to fade or remove henna quickly. These oils help:
- Castor Oil + Baking Soda
- Olive Oil + Lemon Juice
- Toothpaste + Coconut Oil (spot removal)
Use sparingly and gently exfoliate with a loofah.
🎯 Frequently Asked Questions (FAQs)
Q: Can I use cooking olive oil instead of cosmetic?
Yes, just make sure it’s pure and unrefined.
Q: Is it okay to use oils immediately after washing mehndi?
Never wash fresh mehndi with water. Scrape it off and oil it.
Q: How long should I leave post-mehndi oil?
Leave it overnight, or at least 6 hours.
Q: Which oil gives the darkest stain?
Tea tree and clove oil before, followed by mustard oil after, give excellent depth.
Q: Can I skip pre-application oil if I’m in a hurry?
If needed, skip pre-oil but never skip aftercare oil.
💖 Final Thoughts: Let Oils Be Your Secret Weapon
If you’ve been struggling to achieve that deep brown or maroon mehndi stain, then oils are your missing link. Whether you’re just starting your DIY Mehndi Art journey or want to refine your skills, mastering the when and what of oils will make your designs shine brighter and last longer.
Think of oils as your stain enhancers, protectors, and best friends. From prepping your skin to locking in color—just a few drops can make all the difference.
🔖 Key Takeaways
- Use tea tree or lavender oil before mehndi for better absorption.
- Avoid water and apply olive or mustard oil after scraping.
- Don’t use coconut oil or baby oil—they hinder staining.
- Create your own DIY oil blends for personal needs.
- Maintain a day-by-day oil routine for bridal-level results.
✍️ Author Bio:
Anjali Mehta
Cultural Blogger | Mehndi Artist
Anjali is a self-taught mehndi expert who started during the 2020 lockdown. She now helps brides, students, and DIY lovers perfect their mehndi techniques at home, sharing real-world solutions and heritage-friendly tips.


