DIY Mehndi Art: How to Practice Designs Like a Pro (Even If You’re a Beginner)
Written by Anjali Mehta – Mehndi Artist & Cultural Blogger
Mehndi is more than just art—it’s a celebration of culture, identity, and expression. For beginners, the idea of creating beautiful henna designs may seem overwhelming at first, but with the right mindset, techniques, and tools, you can easily learn how to master it at home.
Whether you’re preparing for a festival, a wedding, or just want to explore your creativity, this detailed DIY guide will help you start your mehndi journey and gradually build the confidence and skills to create professional-level designs—all from the comfort of your home.
🌱 Why Learn Mehndi at Home?
Before diving into techniques, let’s understand the benefits of practicing mehndi on your own:
- Cost-effective: No need to book salon appointments.
- Creative freedom: Design anything, anytime.
- Skill development: With regular practice, you can even start a side hustle.
- Therapeutic: Applying mehndi is calming and meditative.
🧰 Must-Have Tools for Practicing Mehndi at Home
Start with a simple mehndi kit. Here’s what you need:
- Organic Henna Cone: Always use fresh, chemical-free cones. You can also make your own at home.
- Practice Sheets or Hand Templates: These are paper sheets with hand outlines to help you trace designs.
- Plastic or Glass Sheet: Great for real-time practice—just wipe and reuse.
- Cotton & Lemon-Sugar Mixture: To seal and enhance the color.
- Acrylic Sheet or Mirror: Practice on smooth surfaces to control your cone pressure.
- Old Cloth or Tissue: For wiping mistakes.
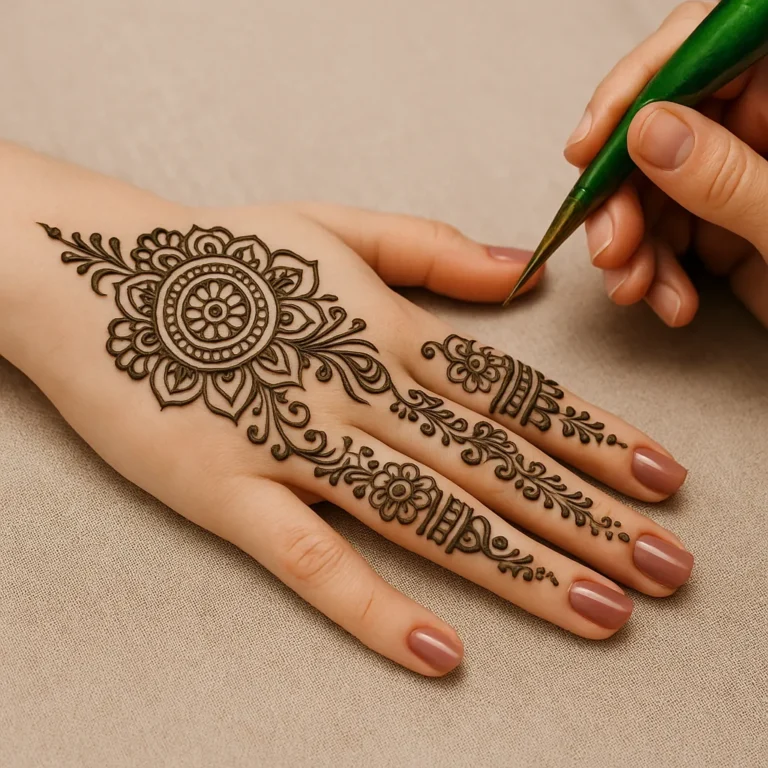
✍️ How to Hold a Mehndi Cone Properly
One of the most common beginner struggles is how to control the cone. Here’s how professionals do it:
- Hold the cone like a pen, about 1 inch from the tip.
- Gently squeeze from the top to control the flow.
- Use your pinky or ring finger to stabilize your hand.
- Start with dots and lines before attempting curves or patterns.
👉 Pro Tip: Always practice on paper or an acrylic sheet before applying on skin.
🌀 Understanding Basic Mehndi Strokes
Every beautiful mehndi design is built on a few fundamental strokes:
- Dot: Tap the tip lightly on the surface.
- Line: Squeeze gently and draw slowly.
- Circle: Begin with small spirals.
- Teardrop: Make a dot and drag.
- Leaf: Combine curves with small flicks.
- Jali (Net): Crisscross lines evenly.
Read More: Mehndi for Sensitive Skin: Tips, Natural Ingredients & Patch-Test Precautions (2025 Guide)
Healed Mehndi Designs: What They Look Like After 3, 5 & 7 Days (With Tips to Maintain Beauty)
Practice these strokes repeatedly until they become smooth and consistent.
🖌️ Daily Practice Routine for Beginners
Building muscle memory is crucial. Here’s a simple 7-day practice schedule:
Day 1-2: Strokes – dots, lines, circles
Day 3: Borders and frames – flowers, petals, leaves
Day 4: Fillers – grids, vines, swirl chains
Day 5: Small motifs – mango, paisleys, hearts
Day 6: Design a full finger or palm
Day 7: Try a complete pattern on paper
Take a photo of your progress each day to track improvement.
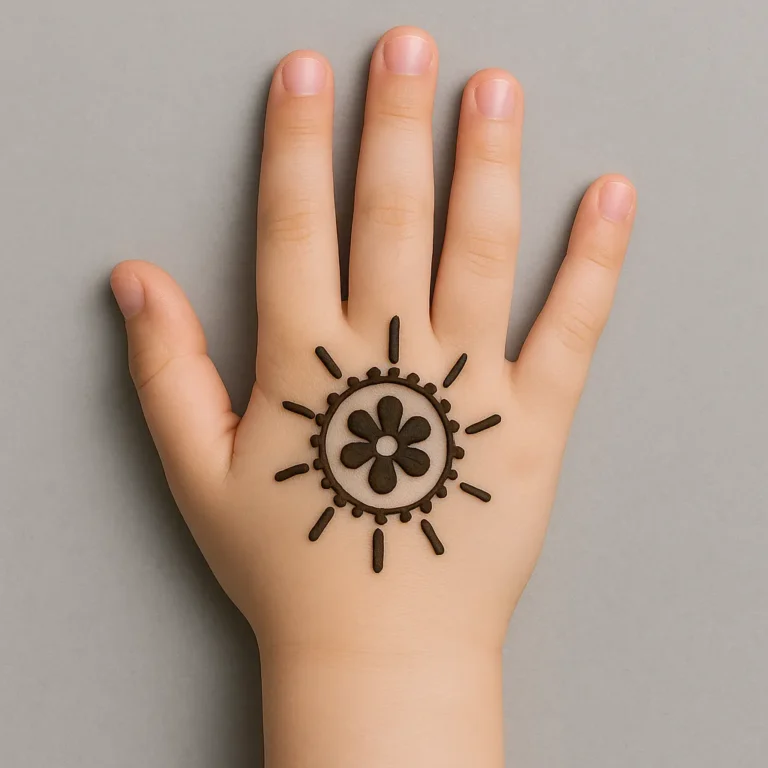
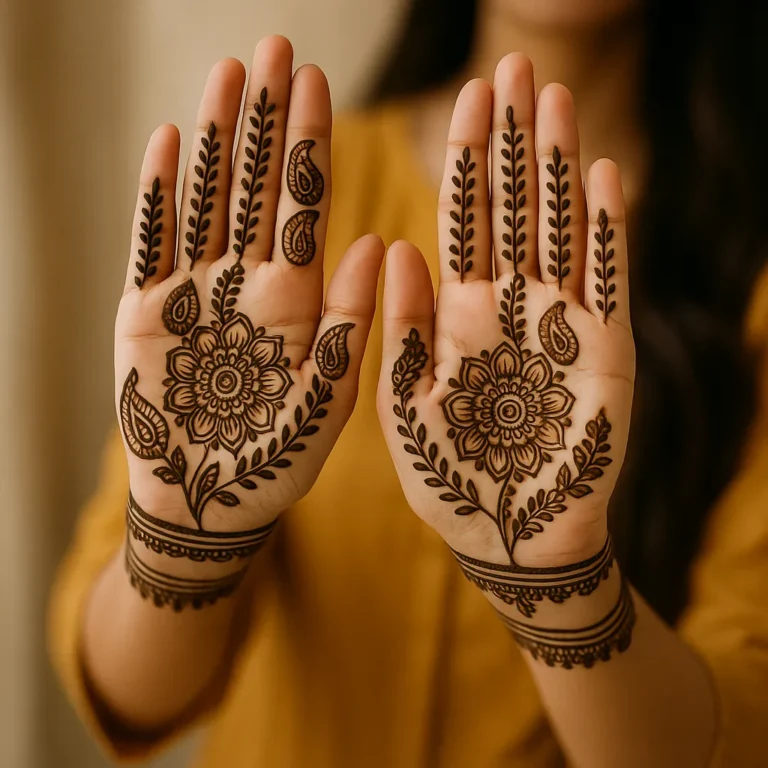
💡 Easy Mehndi Design Ideas to Start With
As a beginner, don’t jump into complex bridal patterns. Start small:
- Mandala on Palm – Simple round floral design.
- Bracelet Style on Wrist – A band with leafy patterns.
- Ring and Chain Design on Fingers – Minimalist but stylish.
- Side Sweep on Back of Hand – Arabic-inspired diagonal motif.
- Bangle Style on Arm – Layers of flowers and lines.
These are ideal for everyday wear, festivals, or just practicing.
🧴 How to Make DIY Natural Mehndi Paste at Home
Avoid store-bought chemical cones and try this beginner-friendly recipe:
Ingredients:
- 3 tbsp organic henna powder (sifted)
- 1 tbsp lemon juice
- ½ tsp sugar
- ½ tsp eucalyptus oil (optional)
- Enough water to make a paste
Instructions:
- Mix all ingredients in a non-metal bowl.
- Let it rest for 6–8 hours.
- Fill into a clean cone or plastic wrap.
👉 Sensitive Skin? Replace lemon with chamomile tea and skip essential oil.
🌈 Practicing on Skin – What to Know
Once you’re comfortable on paper, test your designs on skin.
- Start on your own palm or thigh – Easy to access and clean.
- Always do a patch test before full application.
- Use mild, organic mehndi for safety.
- Keep your skin clean and dry before starting.
🎨 Practice Exercises to Improve Precision
Here are a few creative drills to help you level up:
- Symmetry Challenge: Draw half a pattern and mirror it perfectly.
- Speed vs. Precision Test: Time yourself drawing neat paisleys in 2 minutes.
- Jali Filler Grid: Fill 1 inch of grid lines in under 3 minutes.
These techniques not only improve hand control but prepare you for real applications.
📱 Use Technology to Your Advantage
Modern tools can help you learn faster:
- Apps for Practice:
- Henna Drawing App (Android)
- Learn Mehndi Designs (iOS)
- Procreate (for digital sketching with an Apple Pencil)
- YouTube Channels:
- Shraddha Mehndi
- Hennabydivya
- Creative Mehndi Art
- Pinterest Boards: Save beginner and intermediate patterns for reference.
🤲 Real-Life Example: My Mehndi Journey
I started practicing mehndi during lockdown. I used old file covers as practice sheets and made cones from zip-lock bags. My first few designs looked like doodles—but I didn’t stop. Within three months of daily practice, I was applying mehndi for my cousin’s wedding. Today, I earn extra income on weekends doing home visits.
This could be your story too.
💼 When Should You Start Taking Paid Orders?
Once you feel confident:
- Your lines are clean and consistent.
- You can replicate designs from references.
- You complete palm-side designs in 15–20 minutes.
- You know how to mix your paste and handle skin reactions.
Start small: friends, neighbors, festivals. Offer free trials and collect feedback.
❗Mistakes to Avoid While Practicing Mehndi
- Using expired or chemical cones – Can cause skin reactions.
- Practicing without a plan – Leads to slow improvement.
- Skipping finger control practice – Makes designs shaky.
- Not cleaning the tip – Results in messy output.
- Ignoring symmetry and spacing – Makes design look unprofessional.
🎁 Pro Tips from Seasoned Mehndi Artists
- Always apply on warm skin.
- Don’t rush. Quality improves with patience.
- Start with light pressure; build boldness later.
- Keep tissues and toothpicks nearby for touch-ups.
- Take a break if your hand cramps.
💖 Final Thoughts: Mehndi Is for Everyone
Don’t worry if your designs look wobbly at first. Every great artist was once a beginner. The beauty of mehndi lies in your effort, your flow, and your story.
With consistency, anyone can become a skilled mehndi artist. Even if you never take it professionally, it remains a fulfilling hobby that connects you to heritage and creativity.
Let your hands tell your story—stroke by stroke.
Author Bio:
Anjali Mehta is a professional mehndi artist and blogger with 12+ years of experience in traditional and contemporary henna styles. She believes in empowering beginners through accessible tutorials, simple language, and step-by-step learning.